

Welcome to Scientifics Direct newest blog series, Millennium 101, where you can learn just how powerful and easy to use our newest telescope is. We’ve teamed up with Chris Elliott, an amateur astronomer and astroimager, to help us with this blog and show us how to get the most enjoyment from your new Astroscan® Millennium. Together with Chris, we’ll walk you through step by step the best way to view the basics of the night sky like the Moon, to the more advanced like the rings of Saturn, all with just the what the Astroscan® Millennium comes with right out of the box!
We let Chris Elliott borrow the Astroscan® Millennium last week and asked him for his first thoughts on it. In the coming weeks he will give us walk-thrus for finding different celestial objects and also tips and tricks for using the Astroscan® Millennium, helping you become an astronomer as well. Below is Chris’s first blog with us!
Welcome to the first Millennium 101 blog! With this first blog I wanted to share my initial impressions from unboxing and ease of use that first night, just like you would after getting it delivered. In my next blog I will give the step-by-step guide on how to find everything in the sky that I did that first night.
Opening & Assembly
I received the telescope brand new still in the box from my friends over at Scientifics Direct. From the time I opened the box until it was fully assembled took under 5 minutes. The included instructions made assembling the few loose pieces very easy, as everything was intact and pretty much ready to go right out of the box.

The Astroscan Millennium – Unboxed and Ready To Go
Night One
Taking it out that first night was a breeze as the Astroscan® Millennium is lightweight and very portable with its built in handle. I put it on a table, took its lens cap off and turned on the red-dot finder and I was ready to go. The first thing any astronomer learns to look for is our Moon, it is the brightest object in the night sky, and also extremely easy to find – so that’s what I did with my new Astroscan® Millennium.
I recommend starting with the included 17mm eyepiece as I did. The 17mm eyepiece has a wide field of view, allowing you to see a larger area of the night sky when looking into the telescope and makes finding objects a bit easier. Once I found the Moon using the 17mm I switched it out for the 10mm eyepiece. By making this switch of your eyepieces the object you’re looking at, in this case the Moon, becomes larger allowing you to see even more it’s amazing details! The smaller the eyepiece mm size you use in your telescope, the larger the image appears when looking into the telescope.

Included Wide Angle 17mm & 10mm eyepieces
With the Astroscan® Millennium using a powerful parabolic mirror, the images I was able to see with both eyepieces were extremely crisp and detailed, I was not disappointed! I was able to see the shadows on all of the craters and the edge of the moon very clearly.
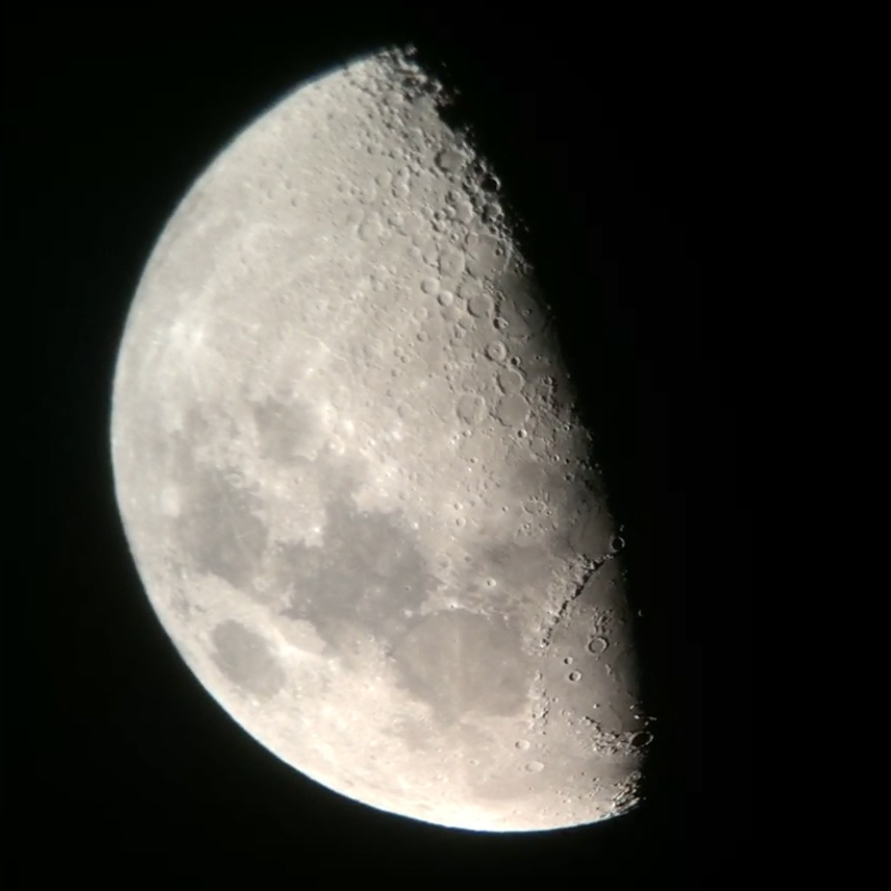
View of the Moon
I wasn’t planning or prepared to take any photos for this blog my first night with the Astroscan® Millennium, I had only just picked it up a few hours earlier but I was too impressed with what I was seeing, I had to try and share the experience. I pulled out my iPhone and just held it up to the eyepiece – not the best way to photograph the Moon with a telescope, but as the saying goes, the best camera is the one that’s with you.
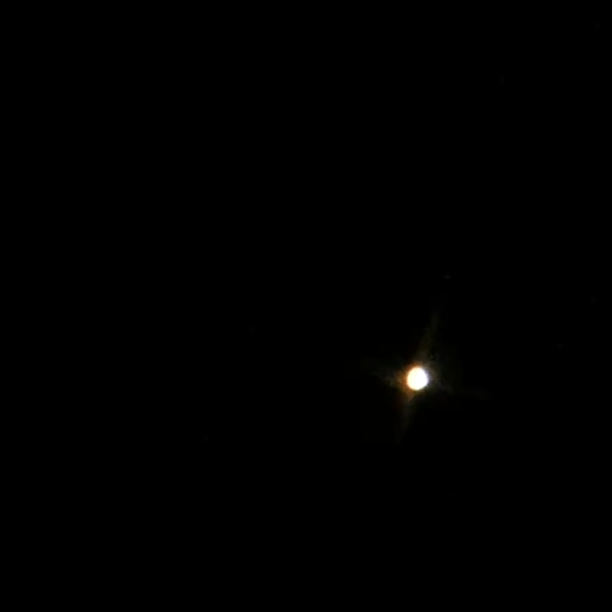
The Mars is also very bright in the night sky this time of the year, so I spun the Astroscan® Millennium around on its base and lined Mars up in my red-dot finder. As you can see in these photos even at 58,000,000 miles away Mars and its unique color in the night sky is a fairly easy to find object to locate for the first time astronomer.
From there I really wanted to see what the Astroscan® Millennium was capable of. My friends at Scientifics Direct had made the claim that I would be able to make out the rings of Saturn if the conditions were right, lucky for me that night they were! As you can see, you can clearly make out Saturn and it’s rings.
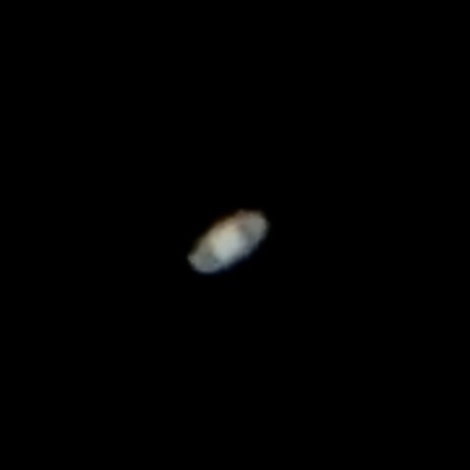
Saturn was super bright and it looked awesome. Photographing was a little tough due to Saturn being smaller in the night sky and me not being set up that night to take any photos, but I did manage to use my iPhones zoom and squeeze a couple of shots to share here. When looking through the telescope Saturn is very clear and crisp, but because this image was shot on an iPhone, amd used zoom, there is a bit of fuzziness and pixelation going on.
I had a great first night with the Astroscan® Millennium and it’s tag line of being ‘Portable, Powerful & Easy To Use’ held true. I am looking forward to taking it out again and writing up my next blog!
*All the images you see here are just the raw images from my iPhone, no filters or any other Photoshop post-production work to enhance the image – this is just like what you will see with your eye.